Friday, July 22, 2011

CHOCOLATE CHIP SPONGE CAKES

RECIPES FOR PUTTING ON A GRAND SHOW AND MAKING A GREAT IMPRESSION ON VERY IMPORTANT PEOPLE

I found this recipe in a children's cook book called "The Children's Step-By-Step Cook Book - Photographic cooking lessons for young chefs" by Angela Wilkes. I made a few changes in the recipe, something I can't seem to help doing whenever I discover a new recipe that I really like and want to try. The original recipe suggests making the cakes either orange, lemon or chocolate but I decided to make mine plain and add chocolate chips instead. As you can see, it is a versatile recipe and is open for all sorts of experimentation and fun. The original recipe also had you making the cake in two layers and frosting it just like a regular cake but, as you can see, mine is not quite like that. Ah well, I just can't seem to color in the lines when it comes to cooking. However, I liked the way the recipe turned out and think I'll be using it often. It was easy to make and didn't require anything special--just a mixing bowl and a wooden spoon. I'll admit my baking pan is a little special, but I'll explain that later on. Here is the recipe:

2 C. self-rising flour
1 C. sugar + 2 T.
4 eggs
1/4 C. butter
1/4 C. shortening
2 teas. baking powder
1 teas. salt
1 teas. vanilla
1/2 C. chocolate chips
1/4 C. powdered sugar
Optional:
For lemon cake: 1 T. lemon juice and grated zest of 1 lemon
For orange cake: 1 T. orange juice and grated zest of 1 orange
For chocolate cake: 1/4 C. cocoa powder

1. Soften the butter in a small bowl in the microwave and add the shortening

2. Add all the other ingredients except chocolate chips and powdered sugar to a medium-size mixing bowl. Stir with a wooden spoon until well-blended.

3. You should be able to drop the batter from the spoon easily. If it is too thick, thin it down with 1 T. of water.

4. Prepare the pan you want to use for the batter. My favorite one is this cute cake pan I bought at a specialty store in Boise, Idaho called "The Co-Op". Once I saw it, I couldn't be happy until I had bought it. It is made by Nordic Ware and is so much fun to use. The trick is to spray it well with Baker's Joy or Pam Baking spray so the cakes pop out easily. It makes wonderful little cakes that are so fancy you'll feel like a professional baker.

5. Fill each cup 2/3 full.

6. Sprinkle 1-2 T. chocolate chips on each cup and stir them into the batter.

7. Here is how they look with the chocolate chips added.

8. Bake 35 minutes in a 325 degree oven.

9. Sprinkle with powdered sugar and voila! Aren't they adorable? Enjoy!


Thursday, July 21, 2011

MOLOKAI SHRIMP AND RICE WITH STIR-FRY

RECIPES FOR PUTTING ON A GRAND SHOW AND MAKING A GREAT IMPRESSION ON VERY IMPORTANT PEOPLE

I wanted to include this recipe because it is another delicious meal I had while I was in Hawaii with the Vogts. Everything they had was so amazingly delicious and healthy, but this one was really a stand-out. Lynn began by taking some shrimp from a bag of frozen shrimp she bought at Costco, probably about 2-3 cups in all, and placing them in a Zip-lock bag and then pouring a small bottle of Italian salad dressing into the bag to marinate the shrimp. This she did about 5-6 hours prior to the time the meal was planned. Along with the shrimp, she made a pot of rice and a pan of wonderful stir-fried vegetables to go with the shrimp. It was all amazing and as I watched her, I realized easy a meal like this can be. It doesn't take a lot of time or money to put together a meal that is not only delicious but healthy, to boot. This one is a prime example.

2-3 C. frozen shrimp
1 8 oz. bottle Italian salad dressing
Fresh vegetables for stir-fry:
1 Italian eggplant
2 carrots
1 C. snow peas
1 medium onion
1 stalk celery
1 bell pepper
2 small zucchini
1 C. fresh spinach
2 T. olive oil for frying vegetables
Sauce:
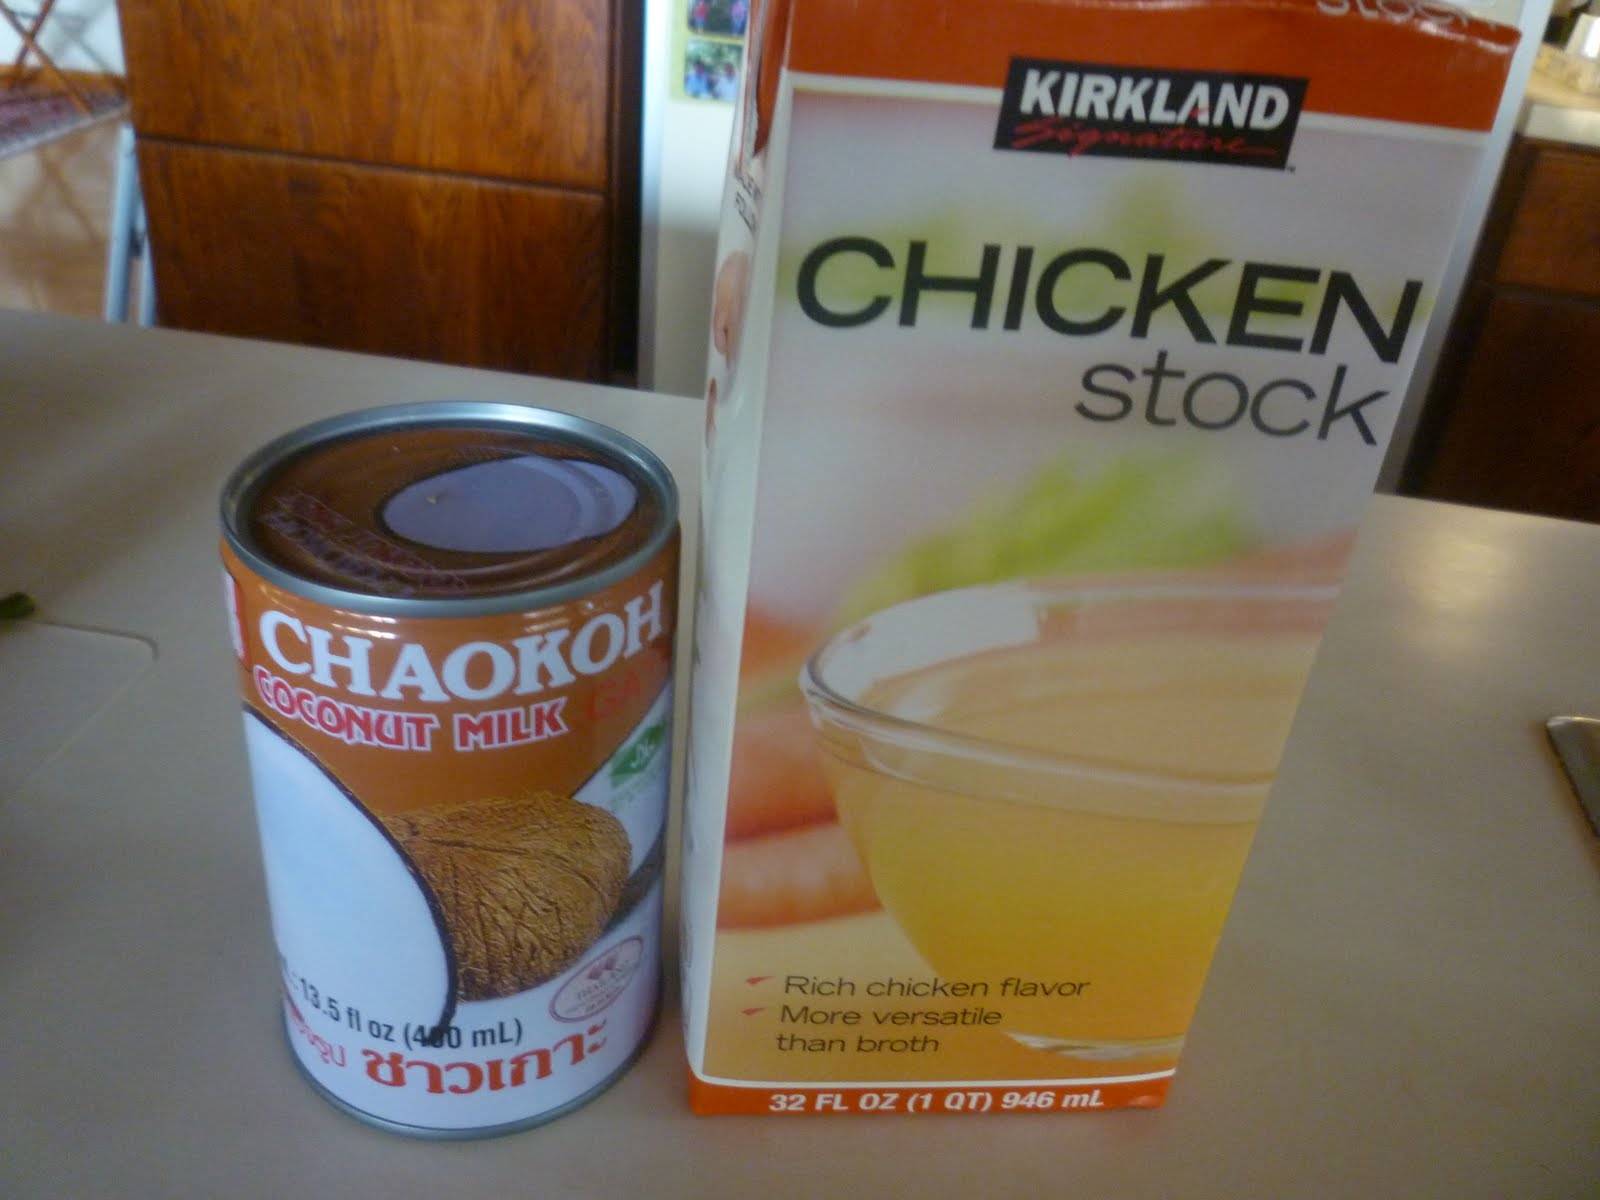
2 C. chicken broth
1 can coconut milk
1 t. Thai red curry sauce
Rice:
1 C. brown rice
2 C. water
1 tsp. salt


1. Cook the shrimp on the bar-b-que about 5 minutes on each side

2. Heat a plate on top of the bar-b-que until it is too hot to touch to put the shrimp on.

3. Make sure the shrimp are completely cooked, but not overdone.

4. Prepare the rice and set aside.

5. Assemble all of the ingredients for the stir-fry sauce and mix in a separate saucepan.


6. Chop the vegetables up and prepare them for frying.


8. Stir-fry gently in olive oil stirring constantly until they are completely cooked but not mushy.
Add the sauce to the vegetables and serve over the rice. Serve the shrimp on the side with dipping sauces as desired. They used a shrimp cocktail sauce and thousand island dressing. Enjoy!


Wednesday, July 20, 2011

OLD FASHIONED POTATO SALAD

RECIPES FOR PUTTING ON A GRAND SHOW AND MAKING A GREAT IMPRESSION ON VERY IMPORTANT PEOPLE

Everyone loves potato salad and in the summertime this is always the #1 crowd-pleaser. It goes with everything, especially anything cooked on the bar-b-que. I never did like my mother's potato salad because she put chopped cucumbers in it. Now cucumbers are fine in a green salad or sliced with fresh tomatoes or made into pickles, but I never could figure out why she thought they needed to be in a potato salad. So please be aware right from the first that my potato salad does NOT contain any cucumbers. If you like them in your potato salad then go ahead and put them in, but they won't appear in my recipe. Potato salad is a little labor-intensive in the beginning but the nice thing about it is that you can make it hours ahead, chill it in the refrigerator, and then it's ready to serve when you're ready to eat. Without further ado, here is how you make it:

5 lbs. baking potatoes with jackets on cut in half (I use Russet baking potatoes, but some like to use Yukon Gold potatoes. Red potatoes are fine, too. You just cook them a little longer and they don't need to be peeled.)
3 tsp. salt
4 qts. water
8 hard-boiled eggs, shelled and chopped
1/2 C. chopped dill pickles
1 bunch minced scallions (green onions)
1/4 C. dill pickle juice from the jar
2 C. mayonnaise
1 tsp. dill weed
1 tsp. celery seed
1 tsp. seasoning salt (I use Lawry's)
1 tsp. garlic powder
1/2 tsp. paprika

1. Boil the potatoes until you can easily insert a knife in the center. Take them out of the hot water and cool them enough to remove the skins.

2. Cut them up into small pieces and put them back into the pot you cooked them in. Add all the seasonings except the paprika, put the lid back on and let them sit in the pot while you prepare the other ingredients. This is one of the secrets of really good potato salad. It gives the potatoes a chance to absorb the seasonings so when you add the mayonnaise and pickle juice, they will be well-flavored.
3. Meanwhile, boil the eggs and when they have cooled, shell them and chop them up.

4. Cut up the dill pickles and set them aside.

5. Mince the green onions as small as you can.


6. Measure the dill pickle juice. If this looks like a full cup, that's because it is. I learned from this that one cup was too much and made the salad too juicy. 1/2 Cup is just right because it keeps the salad from being too dry but doesn't make it gloppy.

7. Add all the dry ingredients, the pickle juice and finally the mayonnaise. Fold it together gently and place in a glass bowl. Sprinkle with paprika and refrigerate until you're ready to eat it. Most people like their potato salad cold, although there are a few who don't mind eating it right after it has been made. It's all a matter a taste. Now, regarding the glass bowl: I'll admit I use one because it's what my mother always used but I do think glass tends to be colder and, besides, it makes the potato salad look prettier when you serve it. So the bottom line is, you can use any bowl you want but glass has always been my first choice for potato salad. Enjoy!


Tuesday, July 19, 2011

TOFU ENCHILADA CASSEROLE

RECIPES FOR PUTTING ON A GREAT SHOW AND MAKING A GRAND IMPRESSION FOR VERY IMPORTANT PEOPLE

I watched my friend, Lynn, as she assembled this delicious casserole and the first thing I thought of was the tofu, realizing that there are some people, quite a few in fact, who wouldn't touch any tofu with a ten-foot pole so the first thing I want to say is that you don't HAVE to use the tofu. Substituting chicken in its place would work just fine and taste every bit as good and probably, to some at least, a lot better. However, because the Vogts live on an island and shopping isn't convenient and food is expensive, especially meat, they use a lot of vegetarian recipes and have learned to adapt and use substitutes whenever possible and I have to say that even though I am not a huge fan of tofu, I found it very delicious in this recipe and not at all objectionable. However, I do think it is one of those 'live with it and learn to like it' kinds of food that has to grow on you over time.
And so, here is how she did it:

1 16 oz. pkg. tofu (or chicken, if you prefer)
1 medium bell pepper, chopped
1 medium white onion, chopped
1 large can green chili enchilada sauce (she prefers Las Palmas)
1 small can chopped green chilis
12 corn tortillas
2 T. oil for frying
2 C. shredded cheddar cheese

1. Heat the oil in a large frying pan
2. Cut the tofu into strips and fry on both sides until browned
3. Remove and drain on a paper towel
4. Add the peppers and onions to the frying pan and cook until softened
5. Cook the tortillas on both sides in the frying pan until softened. Don't overcook. Or, if you prefer, use them uncooked as they will cook when the casserole bakes.
6. Spray a 9" X 13" pan with Pam. Add 1/3 C. enchilada sauce to the bottom.
7. Arrange the tortillas in the pan so that they fill the entire pan (see the picture below)
8. Cut up the tofu into small pieces, add it to the vegetables including the green chilis and start layering the tortillas and the vegetables and tofu in the pan along with the enchilada sauce ending with tortillas.
9. Bake at 350 degrees for 45-50 minutes or until the cheese is melted and all the flavors are blended.
10. Serve with sour cream and/or salsa if desired. Delicious! Enjoy!


Monday, July 18, 2011

MEDITERRANEAN VEGGIE PASTA


RECIPES FOR PUTTING ON A GOOD SHOW AND MAKING A GRAND IMPRESSION FOR VERY IMPORTANT PEOPLE

Last week I was visiting some very wonderful friends, Lynn and Bill Vogt, on their beautiful island home on Molokai in Hawaii. Knowing what a wonderful cook Lynn is, I was excited about getting some of her recipes and learning from her some of the ways she prepares their meals. I was certainly not disappointed and this recipe is a great example of how she is able to put together something so simple and yet have it taste so delicious. It was so good, in fact, that we ate the whole entire thing in one sitting with no leftovers to snack on the next day. It was easy to put together and didn't take much time, either. I snapped pictures during the preparation process and wrote it down soon after so I would remember how it was done. Here is the recipe. (Lynn didn't use a written recipe so this is all from memory.)

1 8 oz package of pasta, cooked (she prefers Penne pasta, but use whatever you want)
4 or 5 stalks of broccolini
4 or 5 medium tomatoes, chopped
1/2 C. sun-dried tomatoes, bottled in olive oil
1/3 C. Kalamata olives, halved
1 C. baby spinach
5 or 6 leaves of fresh basil, chopped

1. Chop the fresh tomatoes and set aside

2. Cut the olives in half and make sure there are no pits in them. Set aside.

3. Chop the fresh basil and also set aside.


4. In a large skillet, put the sun-dried tomatoes and stalks from the broccolini and cook together until the stalks are softened.

5. Add the olives and cook over low heat until all the flavors are well-blended.

6. Add the fresh tomatoes, spinach and basil. Cook until the spinach has been absorbed.

7. Place in a large pasta bowl and sprinkle with grated Parmesan cheese. Serve immediately.
The flavors in this are so delicious and it is healthy, too. It is one of the best and easiest pasta dishes I have ever eaten. Enjoy!


Friday, July 15, 2011

STRAWBERRY MALT ICE CREAM PIE


RECIPES THAT WILL MAKE YOU FEEL LIKE THE SMARTEST, CLEVEREST AND MOST AMAZING COOKS IN THE WORLD

Who doesn't love a strawberry malt and who doesn't love a slice of ice cream pie, especially when it has a cookie crust and chocoalte on top? Oh, yes!!!
I decided to make this one day when I realized I needed a special dessert and only had a partially used carton of vanilla ice cream on hand plus a few strawberries that needed to be used. I dug around until I found some old, stale cookies that had been overlooked and a chcoolate candy bar hiding back in the pantry shelf and I was ready to invent and experiment. All I needed was some Malted Milk powder and, sure enough, there it was hiding back there on in the cupboard behind the powdered milk. I LOVE coming up with new ideas and different ways of doing things and I was surprised how easy this went together and how good it actually was when we were finally able to eat it. Here is how I did it:
1 quart vanilla ice cream
3 T. malted milk powder
1 C. strawberries cut into very small pieces
5-6 C. stale hard cookies
1 C. whipping cream, whipped
1 chocoalte candy bar, grated into large pieces
1. Soften the ice cream enough so it's easy to stir.
2. Add the malted milk powder and the strawberry pieces. Set aside
3. In a food processor, put in enough stale cookies to make 3 C. cookie crumbs
4. In a bowl, put the crumbs and 3 T. melted butter. Stir together well
5. Press the cookie crumbs into a 9" glass pie dish
6. Pour the ice cream mixture over the crumb crust
7. Top with the whipped cream and grated chocolate
8. Freeze well before serving. Cut into 6-7 servings.
Enjoy!