Monday, October 24, 2011

BETTER THAN AVERAGE OVEN FRIED CHICKEN


WEEK TWENTY: RECIPES THAT WILL EVEN IMPRESS YOUR FUSS-BUDGET MOTHER-IN-LAW WHO HAS NEVER BEEN IMPRESSED WITH YOUR COOKING BEFORE.

Everyone loves fried chicken, but not everyone loves the fat and the calories you get when you fry it. Here is a guilt-free way to enjoy something you love and still get the great flavor you get when you fry your chicken. My mother made good fried chicken, but it wasn't as good as this plus it was a lot more greasy. She used to take the chicken pieces and put them in a brown paper lunch bag one at a time with flour and seasonings, shake it all up together and then fry the chicken pieces in hot grease or oil. I've tried this many times but was never able to get the chicken to be moist and tender and the crust was always too crisp and flaky. One of the nice things about this recipe is that the chicken has plenty of time to cook through and the crust is just the right crunchiness without crumbling when you try to eat it. You might even decide it's good enough to serve to your mother-in-law. Here is the recipe:

1 C. low-fat mayonnaise
1 T. garlic powder
1 T. paprika
1 tsp. chili powder
1 tsp. chicken seasoning
3 T. water
Kosher salt or table salt to taste
Freshly ground black pepper (preferably Tellicherry pepper)
4 chicken boneless chicken thighs or 8 chicken fingers with skins removed
Non-stick cooking spray or olive oil spray
2 C. Panko or Japanese bread crumbs with 1/2 C. Parmesan cheese

1. This is what the Japanese bread crumbs package looks like. You can usually find it in the foreign foods section of the grocery store.

2. This is the best kind of mayonnaise to use. I prefer this to the fat-free kind.


3. Tellicherry pepper comes in a grinder so you have to gauge how much you are using and go by the taste. I'm told that this is the secret ingredient to real Kentucky Fried chicken. Who knows?

4. This recipe uses chicken thighs but any kind of boneless chicken meat will work. Chicken fingers are especially good only they may require less cooking time.

5. In a large bowl, combine the mayonnaise, paprika, garlic powder, chili powder and chicken seasoning. Thin this with a little water, one tablespoon at a time, until you get the consistency of heavy cream. Season with salt and pepper.

6. Roll the chicken pieces in flour, then in the mayonnaise mixture.

7. Last, roll the chicken in the Japanese bread crumbs and Parmesan cheese. Do them one at a time and completely coat both sides. Make sure you have plenty of bread crumbs on each piece of chicken.
Lightly coat a non-stick baking tray with cooking spray. Place the chicken pieces onto the cooking sheet and spray them with cooking spray or olive oil, whichever you prefer.

8. Bake at 350 degrees for 20-25 minutes or until they are completely cooked and well-browned. Turn the chicken thighs over halfway through baking time to get them browned on both sides. Serve hot with your favorite side dish. Have something good for dipping like Ranch dressing. Serves 3-4. Enjoy!

Friday, October 21, 2011

JUMBO CHOCOLATE FILLED CHOCOLATE CUPCAKES

RECIPES THAT WARM YOUR HEART, THAT TAKE YOU AWAY AND THAT GIVE YOU THE BEST OF BOTH WORLDS.

If you happen to be a chocolate lover or you have a chocolate craving that just won't go away, then here is the answer to both--triple chocolate cupcakes that will satisfy your craving and make you the most popular person on the block. Anyone who likes chocolate will LOVE these chocolate cupcakes. I wouldn't say they are exactly healthy, but they will do their best to make you happy which is just as important if not more so, don't you think? Besides, they are beautiful to look at and, best of all, wonderful to eat as a special treat or as a reward for going without sugar all week long. I haven't found a single person yet who can resist eating one of these jumbo cupcakes and I'm willing to bet you won't either. They are, in a word, irresistible. Here's how you make them:

1. Start with a regular chocolate cake mix. It doesn't matter what kind you use, but the more chocolaty, the better. Make it according to package directions and add 1 package Instant Chocolate Pudding to the batter.

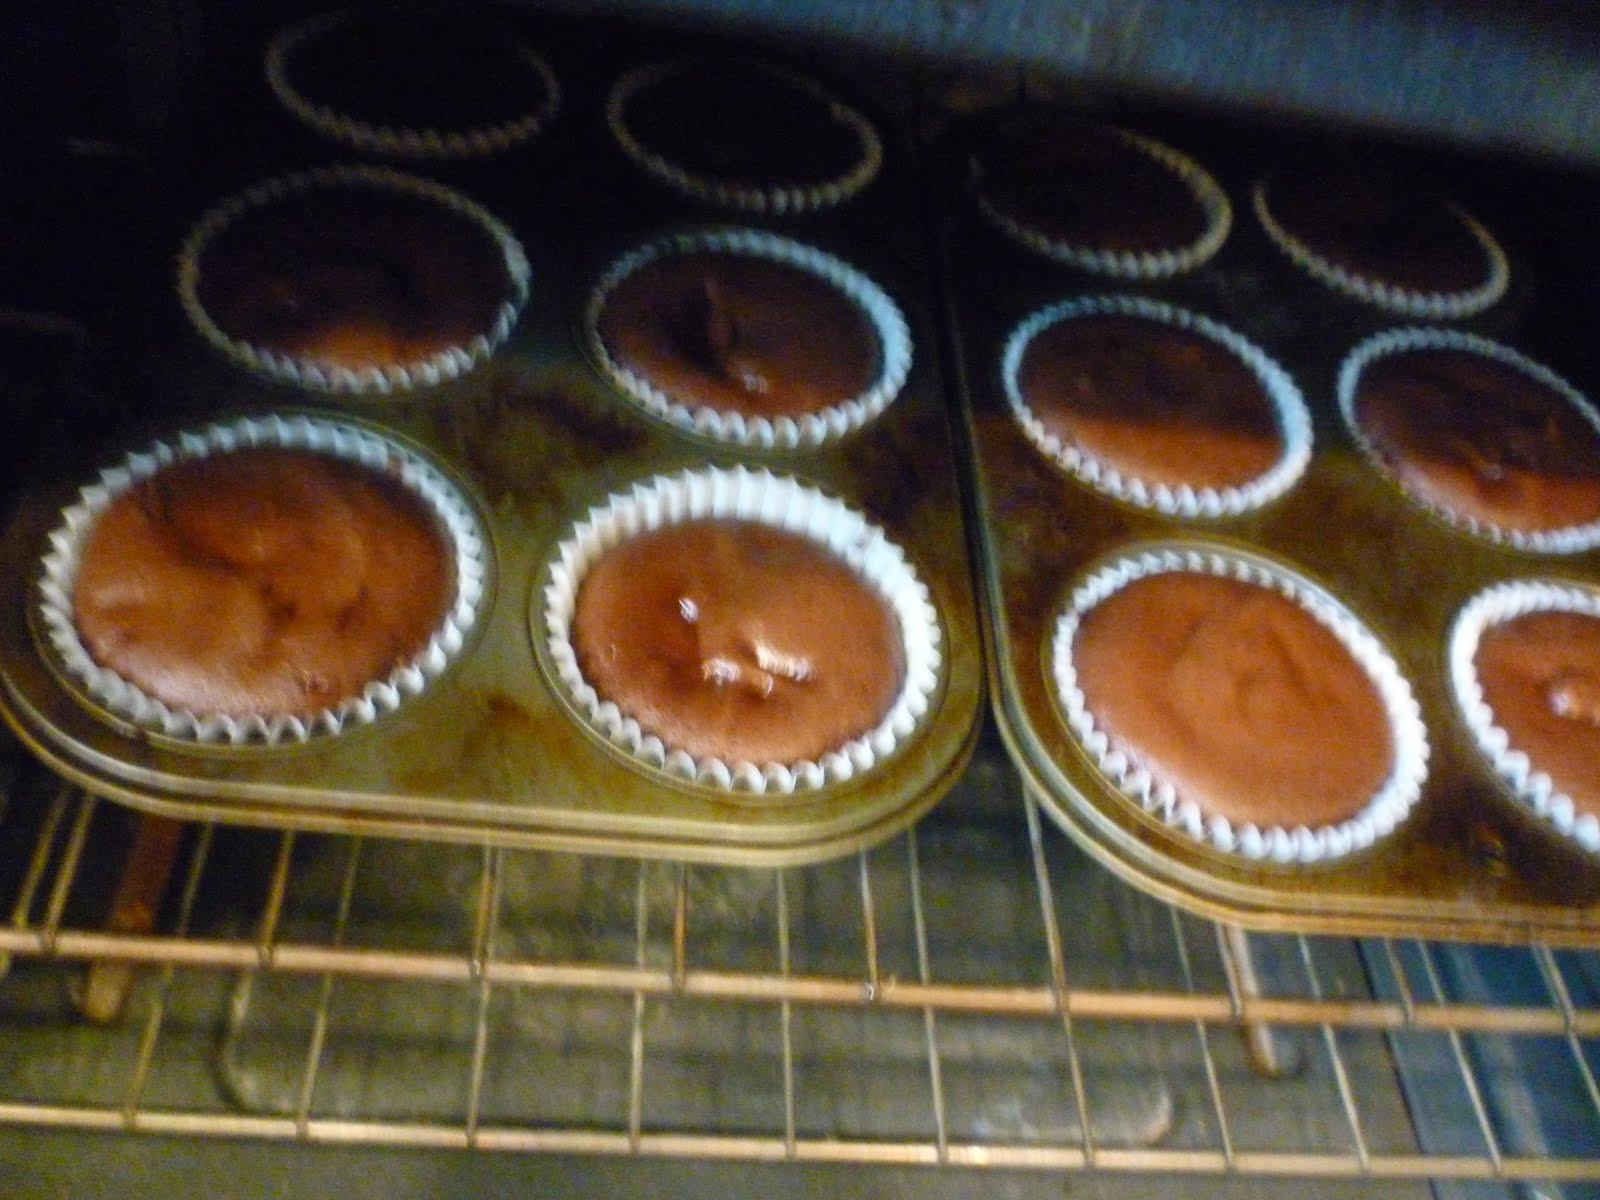
2. Use your extra large muffin pans and fill them half full with batter. You should have just enough for 12 cupcakes. It takes 20-25 minutes to bake them completely. They will look like this when they are done.

3. Now let them cool out of the pan for at least another 15-20 minutes. Next you will need to have one of these amazing little gizmos.

4. I don't know what they are called, but you can buy one for two or three dollars at Williams & Sonoma. They are for filling cupcakes (of course!) and they work like a charm.

5. Just put it on the top of each cupcake, push the plunger and pull out the center. Now you are ready to put in the filling. Here is how you make it:
Use 1 can of sweetened condensed milk and 2 C. semi-sweet chocolate chips, melted. Stir together and add 1 tsp. real vanilla. If it's too thick, thin it down a little with some milk or cream.

6. Now put the filling into a plastic squeeze bottle. These you can buy at Wal-Mart for about fifty cents. Fill each cupcake as full as you possibly can. Try to get the filling clear down to the bottom of the cupcake.

7. Now it's time for the frosting. I used a chocolate ganache icing which is very easy to make.
Just melt 2 C. semi-sweet chocolate chips and add 1/2 C. heavy cream and 1 tsp. vanilla.
But you can make a regular powdered sugar frosting using cocoa, powdered sugar, milk and melted butter if that's what you prefer. Or you can buy frosting in a can and use that, which is a lot easier but just not quite as good.

8. Let them sit for a bit while the frosting sets up, then serve. Hooray for chocolate! Makes 12 large cupcakes or 22-24 smaller ones. Enjoy!


Thursday, October 20, 2011

THE SPAGHETTI SQUASH SOLTUION


RECIPES THAT WARM YOUR HEART, THAT TAKE YOU AWAY AND THAT GIVE YOU THE BEST OF BOTH WORLDS.

Here is something you my not know: spaghetti squash is one of the most interesting foods in the world--it looks like a pasta, it can even taste like a pasta, but it is, in fact, a vegetable! How is that for being unique? So what can you do with a spaghetti squash that solves the problem of how to eat it or what to do that's more than just cooking it, buttering it and serving it in a big bowl? Here is a little idea that will give your spaghetti squash some mystique and dash without relegating it to the leftover shelf in your refrigerator where all things go that were only taken a few bites of but are too good to just throw out. The first time I ever ate spaghetti squash (it was one of the few vegetables my mother never did fix), was in a restaurant and they actually did serve it just like spaghetti which is with marinara sauce and Parmesan cheese. I was fascinated with it and amazed that it could be made to taste so good without all the carbs of real spaghetti. Now that fall is upon us and these amazing little squashes are so readily available not to mention cheap, I thought you could do with a different way to make spaghetti squash. It's healthy, it's colorful, it's easy and it's fun to eat. You can't beat that with a stick! Here is how it's done:

1. You start with a nice round spaghetti squash. Put it in an oven-proof pan and bake it for at least one hour in a 35o degree oven. The bigger the squash, the longer it will take to bake. You know it's through baking when you can easily stick a knife into it.

2. Meanwhile, put some vegetables in your food processor and chop them up. You want to choose all different colors to make it look pretty. Here you can see that I used the following:
4 carrots, peeled
1 crown broccoli
1/2 red pepper
1 small zucchini
1/2 red onion
1/2 lb. mushrooms

3. Cut the squash in half and start lifting out the strands of "spaghetti". Combine the spaghetti squash and vegetables in a large skillet with 4 T. olive oil. Stir while frying until vegetables are crisp-tender. Add 2 T. water and cover to continue cooking the vegetables for 3-4 minutes.

4. Remove the lid and add 1 C. grated cheese of your choice. The best is my favorite, Kraft 3 Cheese Blend, or Feta Cheese is also a good choice. Stir until the cheese is melted and blended in.


5. It will look like this.

6. Now put it all into a casserole dish and cover with 1/2 C. or more mozzarella cheese. Melt the cheese in the microwave for 1 minute. Serve immediately while it's piping hot. It makes a marvelous side dish or you can have it as a great vegetarian main dish. Serves 3-4. Enjoy!

Here it is with some oven-fried chicken. Delicious!


Wednesday, October 19, 2011

CROCK POT MACARONI AND CHEESE

RECIPES THAT WARM YOUR HEART, THAT TAKE YOU AWAY AND THAT GIVE YOU THE BEST OF BOTH WORLDS.

Everyone loves 'Mac & Cheese' but it isn't always easy to make it at the last minute unless you reach for one of the box kind that kids love but isn't quite as good as the real thing. On the other hand, maybe your family doesn't even know what the real thing is because all you've ever had is the box kind. There are lots of ways of making macaroni and cheese and I'm not saying that this way is the best, but it is easy and it saves boiling the macaroni. I can remember when I finally learned how to make macaroni and cheese and I was convinced that at least now I know I won't need to starve because I can cook 'something', even if it's only macaroni and cheese. Making it in your crock pot is nice because you can just put everything in there and then forget about it while you go about your day and when you come back to check on it, there it is all creamy and soft and delicious, just the way you like it. You can eat it by itself or use it as a side dish. I could never get away with slicing up hot dogs and putting them in macaroni and cheese because for some reason my family never would go for that, but if you can do it, then it does make for a nice main dish. You can make different variations of this recipe, as well. For instance, if you don't want to use the eggs, you can just as easily leave them out and it will still turn out just fine. Use your imagination and try different ways until you come up with the one that works best for you. Here's the recipe:

3 C. dry macaroni
2 eggs
4 C. milk
1 C. powdered cheese (I buy this in large food storage cans)
1 16 oz. jar cheese dip (or you could use a 16 oz. pkg. of Velveeta cheese)
1 tsp. soy sauce
1 tsp. Worcestershire sauce (some people call it wooster sauce)


1. Put the eggs and 2 cups of the milk in the crock pot and mix together well with a wire whisk.

2. Add the macaroni and keep stirring.

3. Put in the dry cheese powder. Add the rest of the milk and the soy sauce and Worcestershire sauce. Some people also like to use 1 tsp. dry mustard, but I didn't care for the taste. You can give it a try and see how you like it.

4. Add the cheese dip a little at a time and keep stirring until it has completely melted. Turn the crock pot on high for the first hour to allow it all to come to a slow boil. Then turn it down to low and let it cook for about 2-3 more hours or until the macaroni is completely cooked.

5. If it is thicker than you want it, add a little more milk to thin it down.

6. This is how it looks when it has finished cooking--all rich and golden and bubbling. You can add 1 T. of butter now if you want the taste, but it isn't necessary. It's plenty rich and creamy by itself. This recipe serves 4-6 people generously. We had it with roasted hot dogs and it was delicious. Enjoy!


Monday, October 17, 2011

ALMOST HEAVEN CINNAMON ROLLS

RECIPES THAT WARM YOUR HEART, THAT TAKE YOU AWAY AND THAT GIVE YOU THE BEST OF BOTH WORLDS (THE COOKING AND THE EATING.)

I can't think of anything better than a warm cinnamon roll fresh out of the oven and one of these is even better because it is as close to a real Cinnabun cinnamon roll as you can get without going to one of their stores and buying one. As I understand it, they use a very special cinnamon that comes from Indonesia that you can't buy here because it has to be imported and the Cinnabun franchise has a contract with the company that processes it here and no one else can buy it but them. But this is a very good clone to the real thing and I think it's every bit as good. You can judge for yourself, though. If you're a cinnamon roll lover, as I am, then you will be happy to know that they're as easy to make as they are delicious to eat. What could be better and a cool fall day and what else makes your home smell almost like heaven? Let's get started:

For the dough you will need:
1 1/2 C. warm milk (not hot)
1 egg
1 tsp. vanilla
1/3 C. sugar
2 T. oil
4 C. flour
2 1/2 tsp. yeast


1. Put everything but the flour and yeast in the blender and blend for about 10 seconds.
Pour this mixture into a large bowl. Add the yeast now. If you have a Kitchen-Aid, use the paddle for the first 2 cups of flour, then changing to the dough mixer for the next 2 cups. If you don't, you can use a regular hand-held mixer when you add the first 2 cups of flour, then you have to mix in the rest of the dough by hand and knead it by hand which can be a slight pain in the patootie, but you do what you have to do, right?

2. Let it mix with the dough hook for at least 10 minutes. This is very important. Don't rush it.

3. Next is letting the dough rise. I've found one of the best places is right in your crock pot with the heat turned to warm. Pour 1 C. of water into the bottom of the crock pot. Use a heat-proof bowl and cover it with plastic wrap. Dough likes to be in a warm and moist place so this is perfect for letting it raise. Leave it alone until it doubles in size.

4. While the dough is rising, you can make the filling. Start by melting 1/2 C. butter in the microwave.

5. To this add 1 C. dark brown sugar. Mix it all together well.

6. Next comes the spices:
2 T. cinnamon
1/2 tsp. cloves
1/2 tsp. allspice
Fresh grated nutmeg (approx 1/4 tsp.)
To the spices add 1 T. Karo syrup
Mix these all together and set aside until the dough is ready.

Note: You can use a regular cheese grater for the nutmeg, using the very smallest side. It works just fine. Whole nutmeg grated is 10 times better than the ground kind you buy in the can.

7. When the dough has raised enough, roll it out into a nice rectangle trying to make the edges as square as possible. Spread the cinnamon paste evenly on the dough and roll it up lengthwise.

8. It should look like this. Then cut the dough into 12 approximately 2" pieces and put them in a greased or sprayed 9" X 12" baking pan. Bake in a 325 degree oven for about 25-30 minutes or until they are well browned and not doughy in the center.

9. While the rolls are baking, make the cream cheese frosting for the top.
Melt 1/4 C. butter in the microwave.
Add 1/2 of an 8 oz. pkg of cream cheese. Mix well.

10. To this add 2 C. powdered sugar , 1 tsp. vanilla and 2 Tbsp. heavy cream.

11. When the rolls have baked long enough, take them out of the oven and allow them to cool for about 15 or 20 minutes before you put on the cream cheese frosting. Use a pastry brush to frost them.

12. Voila! Here they are, warm, delicious and ready to eat. Enjoy!

YUMMMMM!